
If you’re a catcher like me, you understand the significance of a glove. It’s more than just leather; it’s your shield against high-speed pitches, the source of security and confidence every time you catch a breakaway pitch. But we also know that baseball gloves have a tough life—they withstand several times the impact of infield gloves and absorb more sweat and moisture. If not properly cared for, they’ll quickly collapse, become stiff, and your beloved “tough” gloves will lose their soul.
Want to keep your baseball gloves feeling that optimal feel—tough yet shock-absorbing—for a long time? Simply applying oil isn’t enough. Combining years of experience with tips learned from professional equipment technicians, I’ve compiled the following six deep-care “rejuvenation techniques.”
Tip 1: End the battle and “rescue” moisture immediately
This is the most basic step, yet the one most easily overlooked. The biggest enemy of your glove is not the bat, but your own sweat and moisture.
When you’re done with a game or practice, don’t just stuff your gloves back into your bag. You have to free them immediately . Here’s how I do it:
Remove all filling: Just like removing the liner, remove all the sand and towels.
Open the vents: Find a clean, dry cloth or towel and stuff it into the finger sleeves and palms, but be careful not to squeeze them. Instead, gently stretch them open to create ventilation space inside.
Avoid sunlight and heat: Place it in a dry, cool and well-ventilated place and let it breathe and dry naturally. Sunlight and heaters will dry out the leather and make it brittle, which is irreversible damage.

Tip 2: Deep cleansing to remove toxins from leather pores
The accumulated sweat and dirt, along with the salt and chemicals they carry, will penetrate the leather fibers and make the gloves hard, so you need to give it a thorough “skin cleansing”.
Don’t apply oil directly! Clean first: Use a soft, dry brush to sweep away any loose dirt. Then, apply a drop of professional leather cleaner (not household soap and water!) to a slightly damp cloth and gently rub in circular motions over the entire contact surface. Pay special attention to your fingertips and pockets, areas that bear the greatest pressure. Finally, wipe away any remaining cleaner with a clean, damp cloth. This step paves the way for oiling; a residue-free leather can truly absorb the nutrients.
Tip 3: Scientifically replenish oil to restore the “vitality” of leather
After cleaning, the pores of the gloves are open, which is when re-oiling is most effective. But remember the golden rule: apply small amounts frequently, not just one greasy application.
Only use professional oils: Stay away from petroleum jelly and cooking oil! They will clog the pores of the leather and make the gloves heavy and sticky. Use professional glove oil or high-quality mink oil .
Massage in: Using your fingers or a clean sponge, apply a very small amount of oil to heavily abraded areas such as the ball contact area, fingertips, and bands. Gently massage the oil into your skin, as if massaging it.
Less lining and less strapping: The lining and binding only need minimal moisture ; too much oil can make them loose and limp, and an oily lining, in particular, can make your hands slippery.
Tip 4: Inspection and Repair: Tighten the Straps to Maintain Structural Integrity
a baseball glove is the straps. Their tightness determines the glove’s shock absorption and pocket depth.
Regular “physical inspections”: Every time you perform deep maintenance, give the straps a slight tug , especially the key straps connecting the pocket to the glove body. If any are found to be loose, tighten them with a professional leather tightening tool. Loose straps are the beginning of pocket collapse.
Pay attention to the stitching: Check all main seams for breaks or fraying. The fingertips of the baseball glove are most susceptible to fraying. If you notice any problems, don’t delay and take it to a professional repairman as soon as possible.
Keep the straps flexible: The straps should also be lubricated with a small amount of oil to keep them flexible so that they do not suddenly break due to drying out when the ball is hit.
Tip 5: Shaping and Storage: Using the Ball to Support the “Soul” of the Glove
When a glove is not used, it will naturally flatten and loosen, especially in the pocket. Proper storage will keep it in perfect shape for catching a ball.
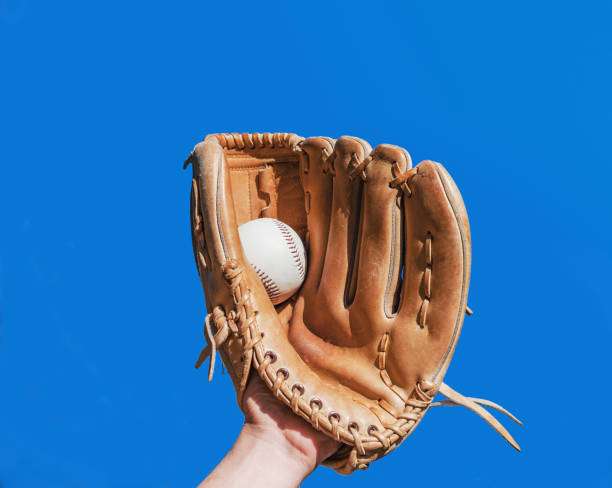
A ball is the best shaper: In the deepest part of your glove pocket, place a baseball or a specialized shaping ball.
Gentle Binding: Close the glove and gently wrap it around an elastic bandage or an old T-shirt. The goal is to maintain the closed shape without forcing it. Excessive force will cause leather fatigue.
Find a good place: Store it in a room out of direct sunlight and without extreme temperature fluctuations. Never place it under heavy objects.
Tip 6: Advanced Technique: Give Your Gloves a “Fake”
If you’re a high-octane catcher, here’s the ultimate tip to help extend the life of your glove: a rotation and rest system .
If your budget allows, keep two pairs of gloves to rotate through. This ensures each pair has ample time to fully dry and rest . If you only have one pair, consider a “rest week”: give it a thorough cleaning and deep oiling, then let it sit quietly for at least a week. This gives the leather fibers time to regain their elasticity, much like giving an athlete a break, allowing them to return to the competition in top condition.
After mastering these six “rejuvenation techniques”, your baseball glove will no longer be a consumable item, but a capable partner that can accompany you for a long time and maintain the best feel.