baseball glove damage? Cracks, loose threads, and hardening are all covered in this article.

1. Don’t rush to change; let the gloves “revive.”
Aging doesn’t mean a baseball glove mitt is useless. Common problems like cracks, loose threads, and hardening are simply signs of time and use. A player who truly understands their equipment doesn’t constantly replace their gloves with new ones but rather knows how to restore the elasticity and feel of old ones. The leather of a baseball glove has a “memory”—it records the curvature of the palm and the feel of force between the fingers. Repairing a baseball glove is about reawakening this connection.
2. Crack repair: let dry skin breathe again
Most cracks are caused by dryness. Unwashed sweat and dust from training can absorb the leather’s internal oils, making it brittle. Once a crack appears, don’t rush to sew it. First, wipe away any surface impurities with a clean, soft cloth. Then, gently massage both sides of the crack with a mild leather care oil. Allow the oil to penetrate naturally overnight, and once the leather has regained its flexibility, assess whether repairs are necessary. If the crack extends to the palm or a stressed area, sew it closely with leather thread, following the original seam. Avoid excessive tension during repairs, as this can cause the leather to deform.
3. Loose line processing: the sense of stability starts from the edge
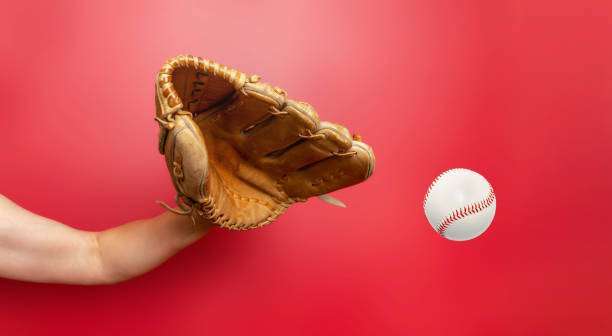
The stitching of a catcher’s mitt is the backbone of its structure. If it becomes loose, the stability of the catching area will be significantly reduced. The key to repairing a mitt is precision, not speed. First, determine the extent of the loose thread, then rethread it with leather thread of the same thickness. It’s recommended to test the fit while repairing to avoid over-tightening the thread, which can create an unnatural feel. After repair, apply a thin layer of leather cream to the surface to restore the friction between the thread and the leather. If the stitching is only slightly loose at the edge of the finger, you can temporarily reinforce it with clear leather glue before completely replacing it later.
4. Hardening problem: Softening is not soaking, but awakening
Many people, seeing their gloves harden, immediately want to soak them in oil or water, but this is a major misconception. True softening occurs through gradual lubrication and mechanical rebound. Start by applying a small amount of conditioning oil to a soft towel and repeatedly rubbing it against your palm and the base of your thumb, simulating a ball-catching motion. The heat and friction will loosen the leather fibers. If conditions permit, wrap the gloves in a cloth overnight and leave them at room temperature. The next day, gently tap the palms to restore their elasticity. Repeat this process several times; this “wake-up” softening method is safer than any quick fix.
5. The key to extending life is daily maintenance
Repairing your gloves is just the first step. It’s the details after use that truly extend the life of your gloves. After each training session, wipe away sweat and dust with a dry cloth. Keep them well ventilated and avoid direct sunlight. Regularly re-oil the gloves to maintain the leather’s moisture. If they’re not used for an extended period, stuff them with cotton cloth to maintain their shape and then store them in a bag away from light. The lifespan of your gloves isn’t just a matter of time; it’s the bond you develop with them.
A well-maintained pair of baseball gloves can not only withstand thousands of high-speed ball impacts but also bear the marks of the players over time. Damage is not a serious concern; the key is knowing the right temperature and rhythm for repair.